Security Groups are a way of controlling what users can do within the application. TrackIt RMS uses a role-based security system in which you assign Security Groups to users with the correct level of permissions. This ensures users only have access to the areas and actions they need and you don't expose too much of the application. When you first onboard with us a Root Security Group is created and assigned to the Root User. This Security Group account be deleted or transferred to anyone. This ensures the root user always has full access to the system.
Viewing Security Groups
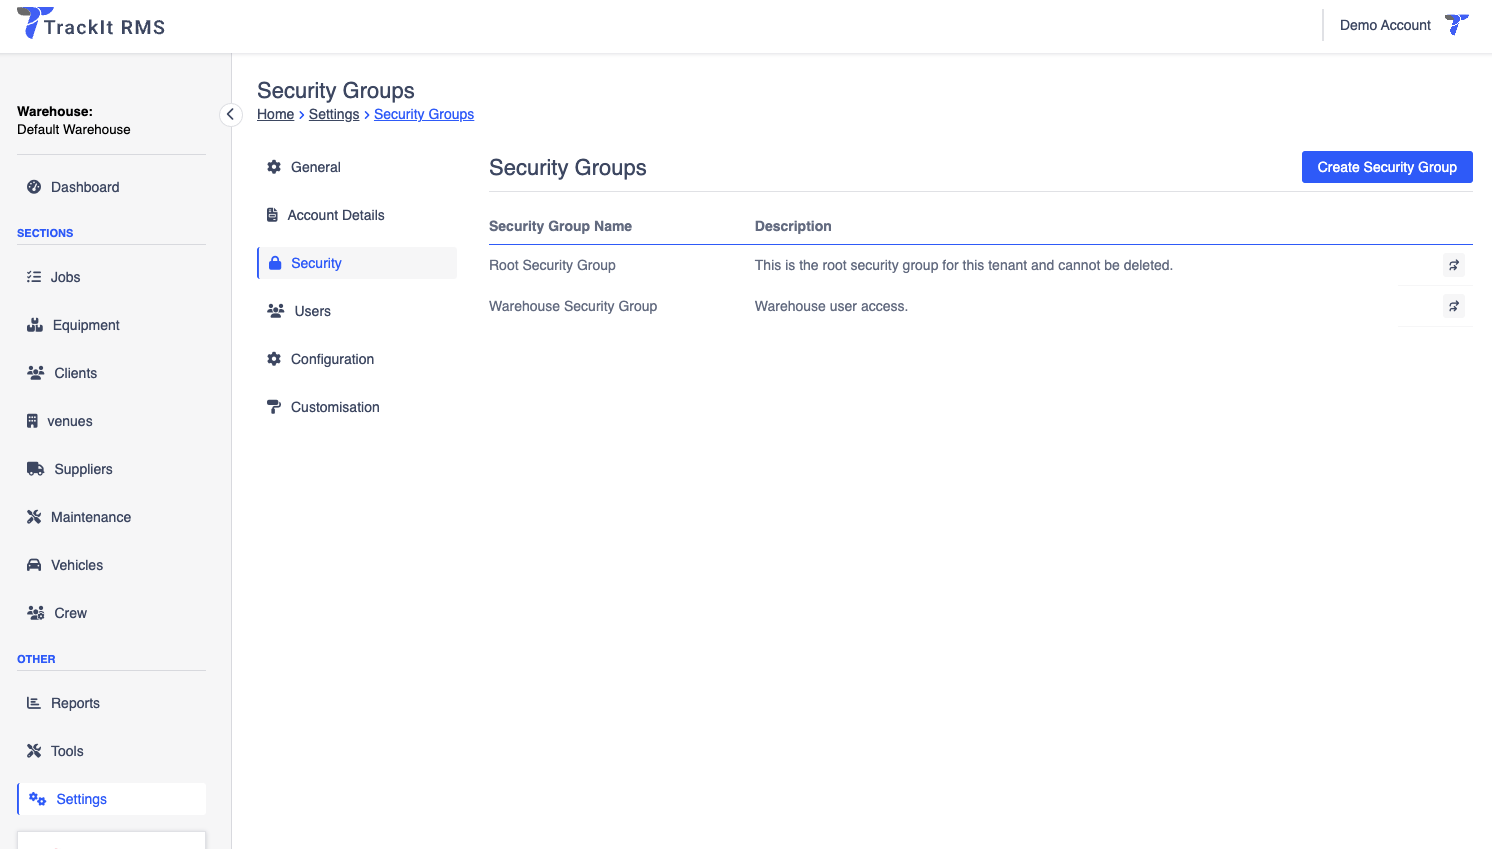
To get more detail about what a specific Security Group is doing, navigate into the Security Group by clicking the table row inside the Security Groups table. This will navigate you into the Security Group. From here, you can see information about the Security Group.
Creating a Security Group
To create a Security Group click the Create Security Group button on the Security Groups page.
- Enter the name of the Security Group and provide a description about what this will do.
- Check the actions that you want the user(s) to do in the Access List section.
- Press the Create Security Group button.
Assigning Users to Security Groups
Editing a Security group
To edit a Security Group, navigate to the Security Group by clicking on the table row. Press Edit Security Group button. Make the changes you want to make on the Security Group and press Update Security Group.
Deleting a Security Group
To delete a Security Group, navigate into the Security Grop and press Delete Security Group button. Confirm the action. This will delete the Security Group. All users that had this Security Group assigned to them will now not have a security group assigned to them. You will need to reassign there Security Groups.